By Tecmolog home | 24 March 2020 | 0 Comments
How to Install Shutoff Valves

How to Install Shutoff Valves
More Information Search: www.sanitarya.com
Shut-off valves, also called supply stop valves, allow people to connect supply lines, find leaks near fixtures and do other plumbing work without shutting off the water supply to the entire house. This guide reviews the different methods for how to install shut-off valves.
1. Cut the Supply Line

•Turn off the next valve up the line, which may be the main water supply valve.
•Open the faucet to drain the line.
•Place a bucket under the old valve.
•Cut the supply line with a pipe cutter, leaving enough room between the escutcheon plate and the cut to allow installation of the valve fitting.
•Deburr the pipe with a deburring tool.
Tip: When cutting the supply line, cut slowly and gently so as to keep the line round. If it bends, the copper won’t accept the compression fitting and will leak.
2. Add Compression Nut

Compression fitting shut-off valves attach to rigid copper pipe and are popular options.
•Begin to install the valve by sliding the compression nut over the supply pipe.
•Slide the nut as far back on the pipe as possible to give yourself room to work.
Tip: Take the old valve with you to The Home Depot to make sure the replacement matches.
3. Attach Compression Ring

•Place the compression ring over the end of the supply pipe. The ring, also called a ferrule, should completely cover the end of the supply pipe.
4. Thread Compression Valve
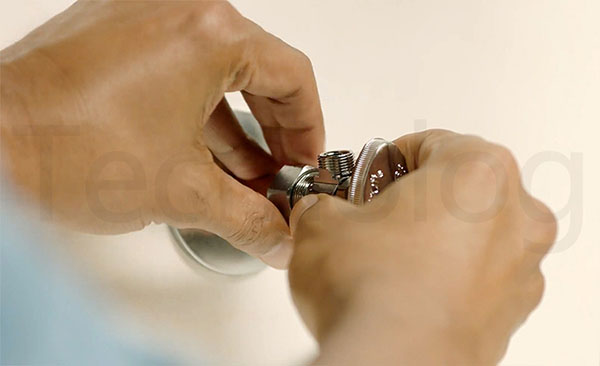
•Thread the compression valve into the compression nut.
•The valve should slide squarely and snugly over the ring.
•Thread the compression valve onto the nut and hand-tighten.
•If the nut doesn't turn easily, add a tiny drop of penetrating oil to the threads.
Tip: Check instructions to see if plumber's epoxy is recommended and apply as directed.
5. Tighten the Compression Valve

•Tighten (but don't over-tighten) the compression valve to the nut.
•Finish tightening the nut using one adjustable spanner to hold the valve square and another one to turn the nut.
•If there are separate hot and cold water supply lines, connect the other side in the same manner.
6. Attach Supply Lines

•Attach the supply lines to the valve.
•If you are reattaching the old lines to the new valve, follow the same procedure you used to install the valve.
•If you are replacing the old supplies with new braided flexible lines, you will have to remove the old supplies from the faucets before you proceed.
7. Check for Leaks

•Turn on the main water supply and open the supply valves.
•Let the water flow through the faucet to clear air in the lines and check for leaks by feeling the fittings and examining them with a flashlight.
•Tighten as necessary until the joints are sealed.
8. Replacing a Threaded Shut-Off Valve

•If the old valve attaches to a threaded galvanized iron fitting, replace it with a valve that has female iron-pipe threads.
•Loosen the old valve with a spanner. You may need to use penetrating oil to loosen the valve, and may need a second spanner if you need to loosen a nut while holding the valve fitting in place.
•Clean the pipe threads with a wire brush.
•Apply pipe compound sealant as directed.
•Thread and tighten the new valve.
9. Replacing a Soldered Shut-Off Valve

•If you’re replacing a shut-off valve that needs soldering to rigid copper, begin by removing the old valve as above.
•Apply a thin layer of solder flux, or soldering paste, to the inside of the valve’s fitting seat and the outside of the pipe.
•Place the valve fitting onto the pipe to ensure a tight fit. Twist it to evenly distribute the flux.
•Detach and use a lit propane torch to heat or “sweat” the fitting for 4 to 5 seconds while applying soldering paste.
•Remove the flame and reinstall the valve assembly. Remove the excess solder with a damp cleaning cloth while it’s still soft.
•When the fittings have cooled, attach the water supply lines and test the valve for leaks.
Safety: Take all precautions when using a propane torch. Wear safety glasses and never allow the torch to touch the work surface or anything flammable.
Follow above steps when replacing the main water shut-off valve or other shut-off valves to control the flow of water in your plumbing fixtures. Knowing how to install valves can help you find leaks and troubleshoot other issues to avoid water damage in your home.
Leave a Reply
Your email address will not be published.Required fields are marked. *